Migrating a website to a new hosting provider is like digitally shifting your products from one shop to another.
According to a report, nearly 40% of businesses face unexpected downtime during website migration, which can lead to loss of revenue and customer trust.
Understanding the complications of transferring a website to a new host is important so that your online presence remains unaffected and your website serves its purpose without interruption.
The goal of this blog is to provide you with a detailed, step-by-step guide on how to carry out an effective website migration.
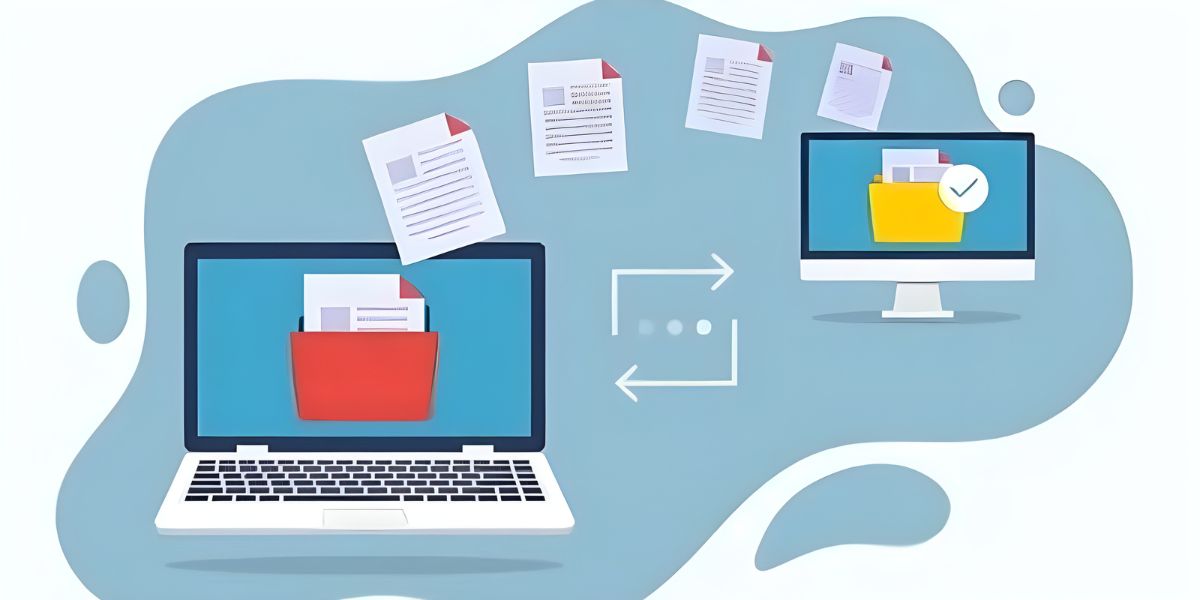
Transferring a website to a new host involves moving all the elements that make up your website—from HTML files and images to databases and scripts, to a new hosting provider.
This process is typically undertaken when your current hosting plan no longer meets your needs, whether due to slow load times, insufficient storage, poor customer service, or a better offer elsewhere.
A well-thought-out migration plan is important to ensure all data is transferred and the website functions as intended once the migration is complete.
Before technical aspects of website migration, the first and most crucial step is to assess your current situation and plan the migration thoroughly.
Start by identifying the reasons for migrating:
Planning should list the elements of your website that need to be transferred, from files and databases to user accounts and email settings.
Create a timeline for the migration process, including key milestones and deadlines. This will help keep the project on track and ensure nothing is overlooked.
Website migration requires the collaboration of stakeholders, including developers, designers, IT staff, and even marketing teams.
Before starting the migration, gather your team for a thorough discussion. Outline the migration plan, clarify each person’s role, and set clear expectations. This is because it helps identify potential challenges early on and allows for a coordinated approach to problem-solving.
During these discussions, ensure that everyone understands the technical requirements and the importance of timing.
Before you begin the actual process of transferring your website to a new host, it’s imperative to create a complete backup of your website. This backup should include all files, databases, and email accounts.
A backup is like putting on a safety net if things mess up during the migration. For example, if data is corrupted or lost during the transfer, you can quickly restore your website to its original state, minimising downtime and preventing the loss of crucial information.
Offshore servers are often located in countries with stringent data protection laws, which can provide an additional layer of security against data breaches.
Choosing the right hosting provider is one of the most critical decisions you’ll make during the website migration. Not all hosting providers are created equal, so it’s essential to do thorough research before making a decision.
Consider factors like uptime guarantees, server speed, customer support, and scalability. You want a host that can not only meet your current needs but also grow with your business.
Once you’ve chosen a hosting provider, look into their migration services. Some hosts offer free migration assistance, while others may charge a fee.
It’s worth considering these services, especially if you’re not confident in handling the migration yourself.
Before making your website live on the new host, it’s crucial to take a test view of the site on the new server. This step involves checking every aspect of your website, from the homepage to individual product pages, to ensure everything functions.
A test view allows you to identify any broken links, missing images, or functionality issues that might have occurred during the migration.
Testing should include checking forms, e-commerce functionality, and any third-party integrations to ensure they are all working correctly.
Once the test view is complete, the next step is quality assurance (QA).
QA is an in-depth review process to ensure that the website operates smoothly after migration. This process includes testing site speed, mobile responsiveness, and overall user experience. Any issues discovered during QA should be addressed before the website goes live on the new host.
A comprehensive QA process involves multiple rounds of testing, each focusing on different aspects of the website.
Involving different team members in QA can also be beneficial, as fresh eyes may catch issues others have missed.
After successfully migrating your website, it’s essential to set up benchmarks and tracking to monitor its performance on the new host.
Benchmarks are crucial because they help you measure the success of the migration. Key performance indicators to track include page load times, server response times, and user engagement metrics like bounce rate and time spent on the site.
Google Analytics and Search Console platforms are helpful for tracking these metrics. Additionally, consider setting up uptime monitoring to ensure your site remains accessible to users.
The final and one of the most critical steps in the website migration process is data migration. This involves transferring all your website’s data, including databases, content, user information, and any other essential elements, to the new hosting provider.
Data migration is particularly challenging because even a small mistake can lead to data loss or corruption.
Depending on the complexity of your website, there are different approaches to data migration. A manual transfer using FTP and database export/import tools may suffice for simple websites. However, for more websites with large databases or custom functionalities, it may be worth considering professional migration services or specialised tools designed for this purpose.
Migrating a website is a significant task that requires careful planning, execution, and post-migration monitoring.
By following the steps outlined in this blog, you can ensure a successful website migration that minimises downtime and maintains your site’s integrity.
With a well-executed migration, your website can enjoy improved performance, security, and a more reliable hosting environment. These factors contribute to a better user experience and greater business success.


We Accept Bitcoin, Litecoin, Dash, PayPal & Perfect Money